The Honeywell TH6320R1004 is a programmable thermostat designed for efficient temperature control․ It offers wireless connectivity and Energy Star certification․ Proper installation ensures optimal performance and safety․ This guide provides step-by-step instructions for installing and configuring the thermostat․
1․1 Overview of the Honeywell TH6320R1004 Thermostat
The Honeywell TH6320R1004 is a programmable thermostat designed for efficient temperature control and energy savings․ It features wireless connectivity, Energy Star certification, and compatibility with various HVAC systems․ This thermostat offers a user-friendly interface, programmable scheduling, and remote access capabilities․ Its sleek design and advanced features make it a popular choice for modern home heating and cooling systems․
1․2 Importance of Proper Installation
Proper installation of the Honeywell TH6320R1004 is crucial for safety and efficiency․ Incorrect installation can damage the thermostat or create hazards․ Always follow the manual’s instructions and consider hiring a trained technician․ Correct installation ensures reliable performance, energy savings, and optimal heating and cooling control․
System Compatibility
The Honeywell TH6320R1004 is compatible with most HVAC systems, including gas, oil, and electric heating and cooling units․ It supports single-stage and multi-stage systems, ensuring versatile installation options․ Always verify system compatibility before installation to ensure proper functionality and performance․
2․1 Ensuring HVAC System Compatibility
The Honeywell TH6320R1004 works with various HVAC systems, including gas, oil, and electric heating/cooling units․ It supports single-stage and multi-stage systems, heat pumps, and dual fuel setups․ Compatibility ensures smooth operation and energy efficiency․ Always verify your system type matches the thermostat’s specifications to avoid installation issues and ensure optimal performance․ Proper pairing guarantees reliable temperature control․
2․2 Checking Wireless Network Requirements
Ensure your home network meets the Honeywell TH6320R1004’s wireless requirements․ The thermostat uses RedLINK technology for reliable communication․ A stable 2․4 GHz Wi-Fi network is necessary for remote control via the Honeywell Home app․ Avoid signal interference by placing the thermostat away from obstacles․ A strong network connection ensures seamless smart home integration and consistent performance․ Refer to the manual for detailed network specifications․
Site Preparation
Choose a stable location for the thermostat, avoiding direct sunlight and extreme temperatures․ Ensure the area is clear and accessible for installation․
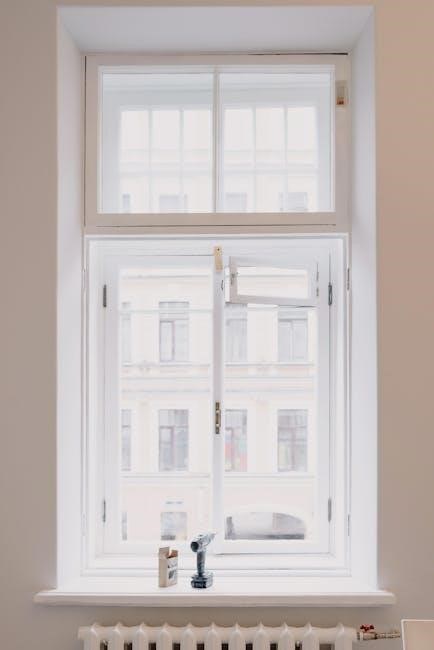
3․1 Choosing the Ideal Location
Select a location with consistent room temperature, avoiding direct sunlight and extreme heat or cold sources․ Install near HVAC vents for accurate temperature sensing․ Ensure the area is clear and accessible․ Avoid drafts or obstructions․ The thermostat should be mounted at a height of 52-60 inches, as recommended․ This ensures reliable performance and even temperature distribution throughout the space․
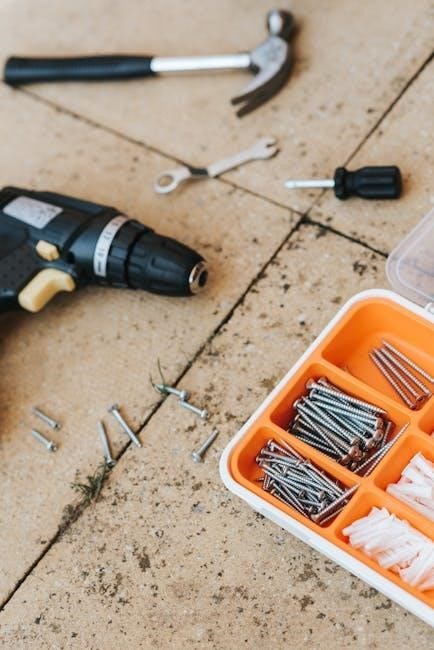
3․2 Tools and Materials Needed
You will need a drill, screws, wall anchors, level, flathead screwdriver, pliers, wire labels, and a voltage tester․ Additional materials include a wallplate, AA lithium batteries, reference card, and mounting hardware․ Ensure all tools are available for proper installation․ Some items may be optional depending on your setup․ Gather everything beforehand for efficiency․
Installation Steps
Mount the wallplate, connect the wires, and install the thermostat․ Insert batteries and configure settings․ Follow the manual for precise, safe installation․
4;1 Wallplate Installation
Begin by separating the wallplate from the thermostat․ Ensure the wall is level and mark the screw holes․ Mount the wallplate securely using provided screws․ Insert the reference card after installation for easy access to setup instructions․ This step ensures a solid foundation for the thermostat installation process․
4․2 Thermostat Mounting
Attach the thermostat to the wallplate by aligning the mounting tabs․ Secure it using the provided screws․ Ensure the device is level for proper functionality․ Gently press the thermostat until it clicks into place․ Insert the reference card into the holder for easy access․ This step completes the mounting process, preparing the thermostat for wiring connections․
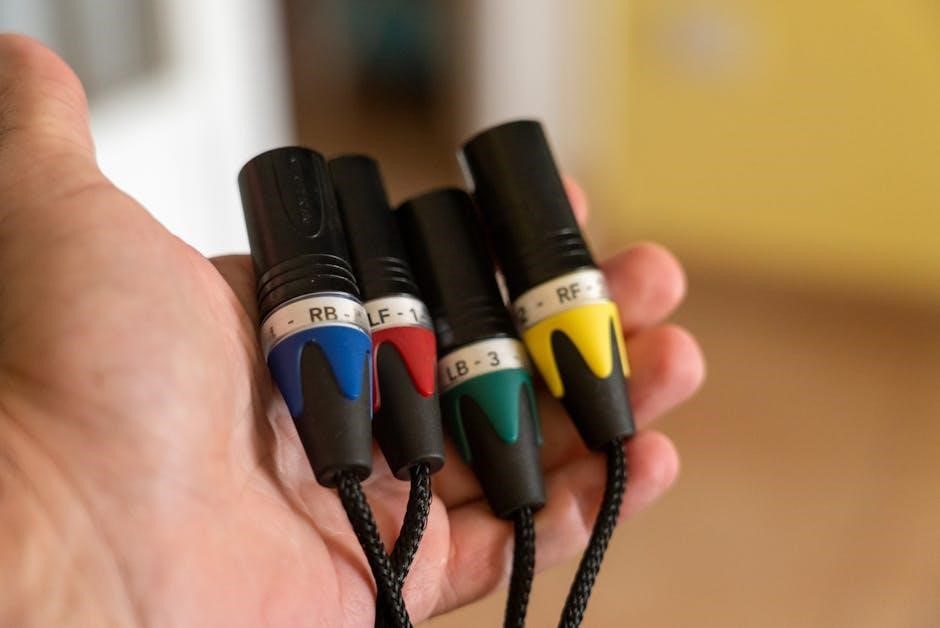
4․3 Wiring Connections
Connect the wires to the appropriate terminals on the wallplate and thermostat․ Turn off the power to your HVAC system before starting․ Use the reference card to match wire labels with terminals․ Gently insert wires into their respective slots and secure them with screws․ Ensure all connections are tight and no wires are pinched․ This step ensures reliable communication between the thermostat and your HVAC system․
4․4 Battery Installation
Insert two fresh AA lithium batteries into the thermostat’s battery compartment․ Locate the battery cover on the back, remove it, and align the batteries with the polarity markers․ Gently push the batteries into their slots until they click․ Replace the cover securely․ Batteries power the thermostat during installation and ensure continuous operation․ This step is crucial for proper functionality․
Configuration and Setup
Configure your Honeywell TH6320R1004 by setting the time, date, and preferred modes․ Ensure a stable Wi-Fi connection for remote access and smart home integration․
5․1 Setting the Time and Day
To set the time and day on your Honeywell TH6320R1004 thermostat, press the SET CLOCK/DAY/SCHEDULE button․ Use the arrow keys to navigate through the menu and select your preferred time and day settings․ Save your changes to ensure the thermostat operates according to your schedule․ This step is crucial for accurate temperature control and energy management․
5․2 Selecting Heat/Cool Modes
To select the desired mode, press the MODE button on your Honeywell TH6320R1004 thermostat․ Choose between Heat, Cool, or Auto modes․ In Heat mode, the system warms your home; in Cool mode, it cools․ Auto mode automatically switches between heating and cooling based on the set temperature․ Use the arrow keys to adjust the target temperature and press Done to save your selection․
5․3 Wi-Fi Network Configuration
To configure the Wi-Fi network on your Honeywell TH6320R1004 thermostat, navigate to the network settings menu on the touchscreen display․ Select your home network from the available list and enter the password using the on-screen keypad․ Once connected, the thermostat will automatically update and sync with your wireless network․ Use the Honeywell Home app for remote temperature control and smart home integration․
Testing and Troubleshooting
After installation, test the thermostat’s basic functions, such as heating and cooling modes․ Check for common issues like wiring or connectivity problems and resolve them promptly․
6․1 Basic Functionality Test
After installation, perform a basic functionality test to ensure the thermostat operates correctly․ Verify the display lights up, temperature adjustments work, and heating/cooling cycles activate as expected․ Check the wireless connection and battery levels․ If issues arise, refer to troubleshooting steps in the manual or contact Honeywell support for assistance․
6․2 Common Issues and Solutions
Common issues include no display, incorrect temperature readings, or wireless disconnection․ Ensure wiring is secure and batteries are fresh․ Verify Wi-Fi network connectivity and restart the thermostat if necessary․ For persistent problems, refer to the troubleshooting guide or reset the thermostat to factory settings․ Contact Honeywell support if issues persist․
6․3 Restoring Factory Settings
To restore factory settings, remove the batteries and press the reset button․ Hold the button for 5 seconds, then reinstall the batteries․ The thermostat will revert to default settings․ Note that scheduled settings and Wi-Fi configurations will be lost․ This step is recommended for resolving persistent issues or preparing for reuse․

Maintenance and Upkeep
Regularly clean the thermostat screen and replace batteries as needed to ensure optimal performance․ Proper upkeep extends the product’s lifespan and maintains energy efficiency․
7․1 Cleaning the Thermostat
To maintain functionality, gently clean the thermostat’s screen with a soft, dry cloth․ Avoid using harsh chemicals or abrasive materials, as they may damage the display․ Regular cleaning ensures accurate temperature readings and smooth touchscreen operation․ This simple maintenance step helps preserve the device’s efficiency and longevity, keeping it in optimal working condition year-round․
7․2 Replacing Batteries
To replace the batteries, remove the thermostat’s cover and install two fresh AA lithium batteries․ Ensure the batteries are inserted correctly with the polarity aligned as marked․ Replace the cover and wait for the thermostat to reconnect to the wireless network․ This process typically takes a few minutes․ Regular battery replacement ensures uninterrupted performance and accurate temperature control․ Use lithium batteries for optimal performance and longer battery life․

Disposal and Recycling
Dispose of the Honeywell TH6320R1004 thermostat responsibly․ Contact local waste management for recycling options․ Proper disposal prevents environmental harm and adheres to regulations․ Recycle batteries separately․
8․1 Proper Disposal Methods
Properly dispose of the Honeywell TH6320R1004 thermostat by following local regulations․ Separate electronic components and recycle whenever possible․ Remove batteries and dispose of them at designated recycling centers․ Avoid placing the device in regular trash to prevent environmental contamination․ Contact local waste management for guidance on e-waste disposal facilities․
8․2 Recycling Options
Recycle the Honeywell TH6320R1004 thermostat responsibly by partnering with certified e-waste centers․ Check local guidelines for electronic waste recycling programs․ Visit Honeywell’s official website for recommendations on nearby facilities․ Proper recycling ensures safe disposal of hazardous materials and promotes environmental sustainability․ Remove batteries before recycling and follow all local regulations to support eco-friendly practices․
Additional Resources
9․1 Honeywell Customer Support
Honeywell offers comprehensive customer support for the TH6320R1004 thermostat․ Visit their official website for installation manuals, troubleshooting guides, and video tutorials․ Contact their support team directly for personalized assistance with any installation or operational issues․ Additionally, FAQs and community forums provide quick solutions to common problems, ensuring a smooth experience․
9․2 Online Manuals and Guides
Honeywell provides downloadable PDF manuals and detailed installation guides for the TH6320R1004 thermostat․ These resources cover system compatibility, wiring instructions, and troubleshooting tips․ Visit Honeywell’s official website or authorized portals to access these materials, ensuring a seamless installation process․ The guides are available in multiple languages, including English, French, and Spanish, for global accessibility․
Installing the Honeywell TH6320R1004 thermostat requires careful planning and adherence to the provided manual․ Proper installation ensures efficient temperature control, energy savings, and system safety․ By following the guidelines and consulting additional resources, users can optimize their heating and cooling systems․ This thermostat is a valuable addition to any home, offering comfort and reliability when installed correctly․
